Highlanders in Cape Town
Battle of Blaauwberg 8th January 1806 – Appendix
The following blog post continues supplement content referring to the Battle of Blaauwberg which was covered in this post:
Blaauwberg Battlefield Today
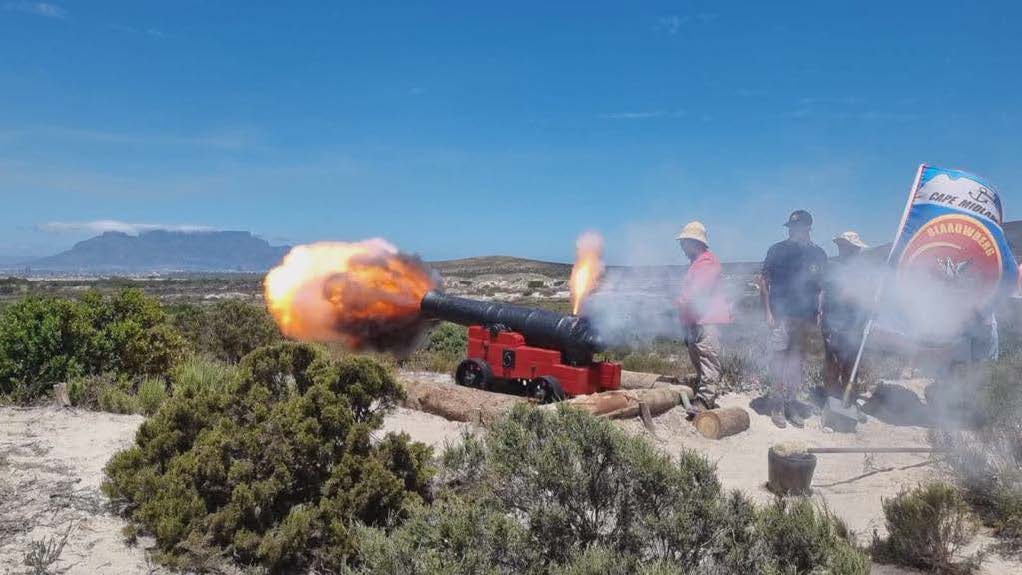

Blaauwberg Hill seen from top of Kleinberg.
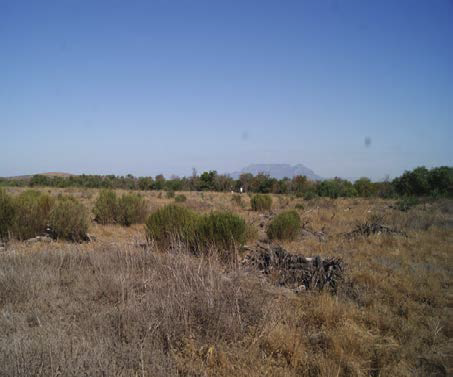
View today the Highlanders would have seen as they advanced towards the Dutch forces.
The Force sent to the Cape
Britain had taken the Cape in 1795, but it was ceded back to the Batavian Republic in the 1802 Treaty of Amiens. The War Office immediately started to plan to return and discussed plans with Lt-General Sir David Baird. Baird knew the Cape defences and was convinced it would take a force of at least 5000 to be successful. The regiments were chosen by Baird and started to assemble in the early months of 1805.
REGIMENTS Total Force 6515 Men
First Brigade
Under Brigadier-General Beresford
24th Regiment of Foot (Warwickshire) -500 Men
38th Regiment of Foot (1st Staffordshire) – 925 Men
59th Regiment of Foot (East Lancashire) – 1000 Men
83rd Regiment (Royal Ulster Rifles) – 800 Men
Second “Highland” Brigade
Under Brigadier-General Ferguson
71st Regiment – Frasers Highlanders – 770 Men
72nd Regiment – Seaforth Highlanders (Duke of Albany’s Own) – 730 Men
93rd Regiment – Argyle and Sutherland Highlanders (Princess Louise‘s) – 700 Men
20th Light Dragoons – 220 Men
Artillery – 320 Men
Additional Drafts – 550 Men
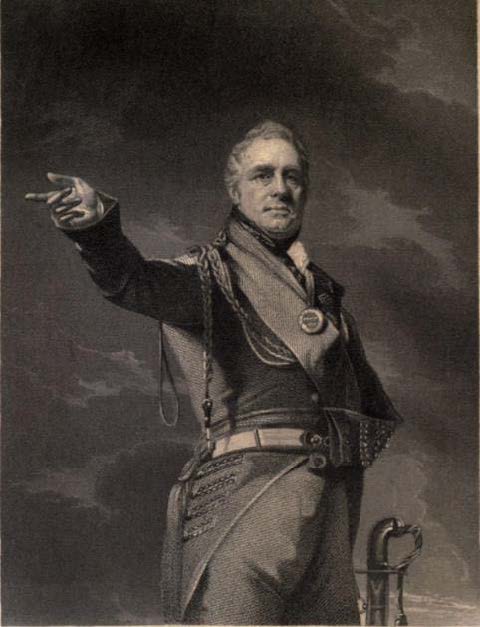
Lt-General Sir David Baird
Born 6th December 1757 in Haddington, Scotland, General Sir David Baird was the son of a Merchant from Edinburgh, Baird entered the Army in 1772 and was a notable career soldier attaining fame in the disastrous campaign in Mysore, India where he spent 4 years in prison.
On returning to England, he served in the first British occupation of the Cape (1795 to 1803) as a Brigadier-General, something that was to give him exceptional advantage for the invasion in 1806. This knowledge enabled him to evaluate the best way to deliver the troops on to the shores without having to run the risk of entering the highly defended Table Bay.
After the battle he became the first Lieutenant-General of the Cape before returning to England.
Baird attained the full rank of General in 1814 and awarded the Knight Grand Cross of order of the Bath. He died on 18th August 1829 at the age of 71 at Fern Tower, Crieff, Perth and Kinross, Scotland. Today a tower exists near to Crieff, erected by his wife.
The Fleet that took the army
HMS Diadem (Flag ship) – 64 Gun Third Rate Ship
HMS Belliqueux – 64 Gun Third Rate Ship
HMS Raisonnable – 64 Gun Third Rate Ship
HMS Diamede – 44 Gun Fifth Rate Ship
HMS Narcissus – 32 Gun Fifth Rate Ship
HMS Leda – 38 Gun Frigate
HMS L’Espoir – 18 Gun Brig
HMS Encounter – 14 Gun Brig
HMS Protector – 12 Gun Brig
PLUS 54 TRANSPORTS
The transports were made up of ships acquired from private companies like the East India Company.
Capt. Sir Home Riggs Popham
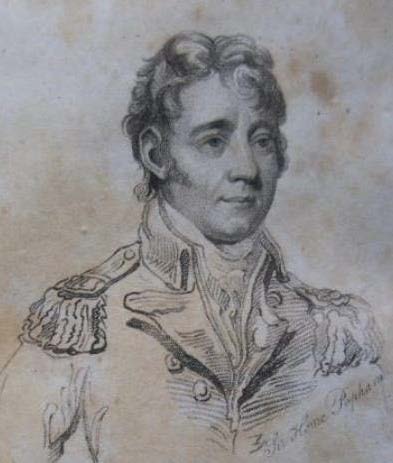
Born 12th October 1762 in Gibraltar, Captain (later Rear Admiral) Sir Home Riggs Popham was the son of Joseph Popham, British Consul to Morocco.
Having a good solid background Popham joined the Royal Navy and soon elevated through the ranks to command his own ships. A skilled sailor and navigator, he was renowned for the creation of the signal flag system used by Nelson’s ships.
Popham was given command of the fleet to deliver the British troops and their requirements to the Cape. He captained HMS Diadem for the trip using great skill to avoid the notice of the French of the massive fleet.
After the capture of the Cape, Popham coerced Baird in to giving him the 71st Regiment for a raid on South America.
Although successful at the start with taking Montevideo, the raid turned sour with the capture of the regiment by the Spanish. Popham returned to England in disgrace and was court martialled but was let off thanks to his influential contacts in the Government.
Three times a member of Parliament, Popham was promoted to Rear Admiral in 1814 and appointed Commander of the Order of the Bath in 1815. He finally elevated to the position of Commander in Chief of Jamaica Station ending his life in Cheltenham in 1820.
The Journey to the Cape
The transports and regiments were massed at Cork in Ireland under complete secrecy during the months of July and August 1805. The rest of the fleet left at different stages from the South Coast of England with the whole armada meeting up in Madeira.
Ship captains were only told of the final destination a week out of Madeira in order to fool the French fleets that they were heading for the West Indies.
The next stop was San Salvador where attempts were made to purchase horses for the dragoons, but only 68 were obtained for the 200 cavalry riders.
When they arrived in the Cape the men had been at sea for almost 100 days.

The landing at the Cape
The landings required support from the ships to get the landing boats in close range of the shore to reduce the distance required to row from ship and back again for the next group. To make sure this process was safe the two gun brigs; Encounter and Protector were sailed close in to provide cannon cover.
Archaeological Work
Since the 200th anniversary of the battle in 2008 there has been an increase of interest in the battle and research into the history of the event. With the actual battlefield location in doubt, the City of Cape Town Archaeologist requested that the Friends of Blaauwberg Conservation Area assist in identifying the area.
Thanks to a number of enthusiasts the evidence was demonstrated and the City acquired the land as part of a neighbouring nature reserve.
Following this acquisition, there has been concerted effort by archaeologists to get the information of the battle confirmed. Marius Breytenbach obtained a master’s degree in Archaeology with research on the location of the Blaauwbergsvallei outspan. The location was significant for being the place where the Dutch camped the night before the battle and where the British set up a field hospital afterwards.
Willem Hutten also got a master’s degree in battlefield archaeology with amazing work in identifying the locations of the defensive lines, the attack on Kleinberg and more importantly the condensed attack by the Highland Regiments that decided the final outcome.
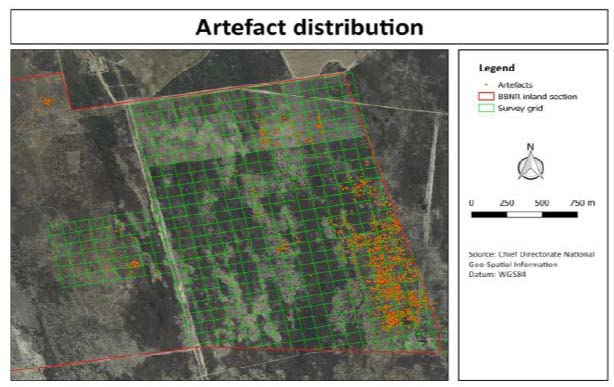
Extract from Willem Hutten’s master’s dissertation showing the distribution of finds on the battlefield. The orange dots on the right demonstrates the advance of the Highlanders and the intense fire that they endured as they attacked the Batavian line. The red line shows the boundary of the nature reserve that the battlefield is located within. As can be seen this only just covers the area of the main battle which would have extended to the right and where it is known the Batavian artillery were located.
This blog post was produced for The Highlanders Museum by Dave Honour, a registered Battlefield Tour Guide with Western Cape Tourism.
